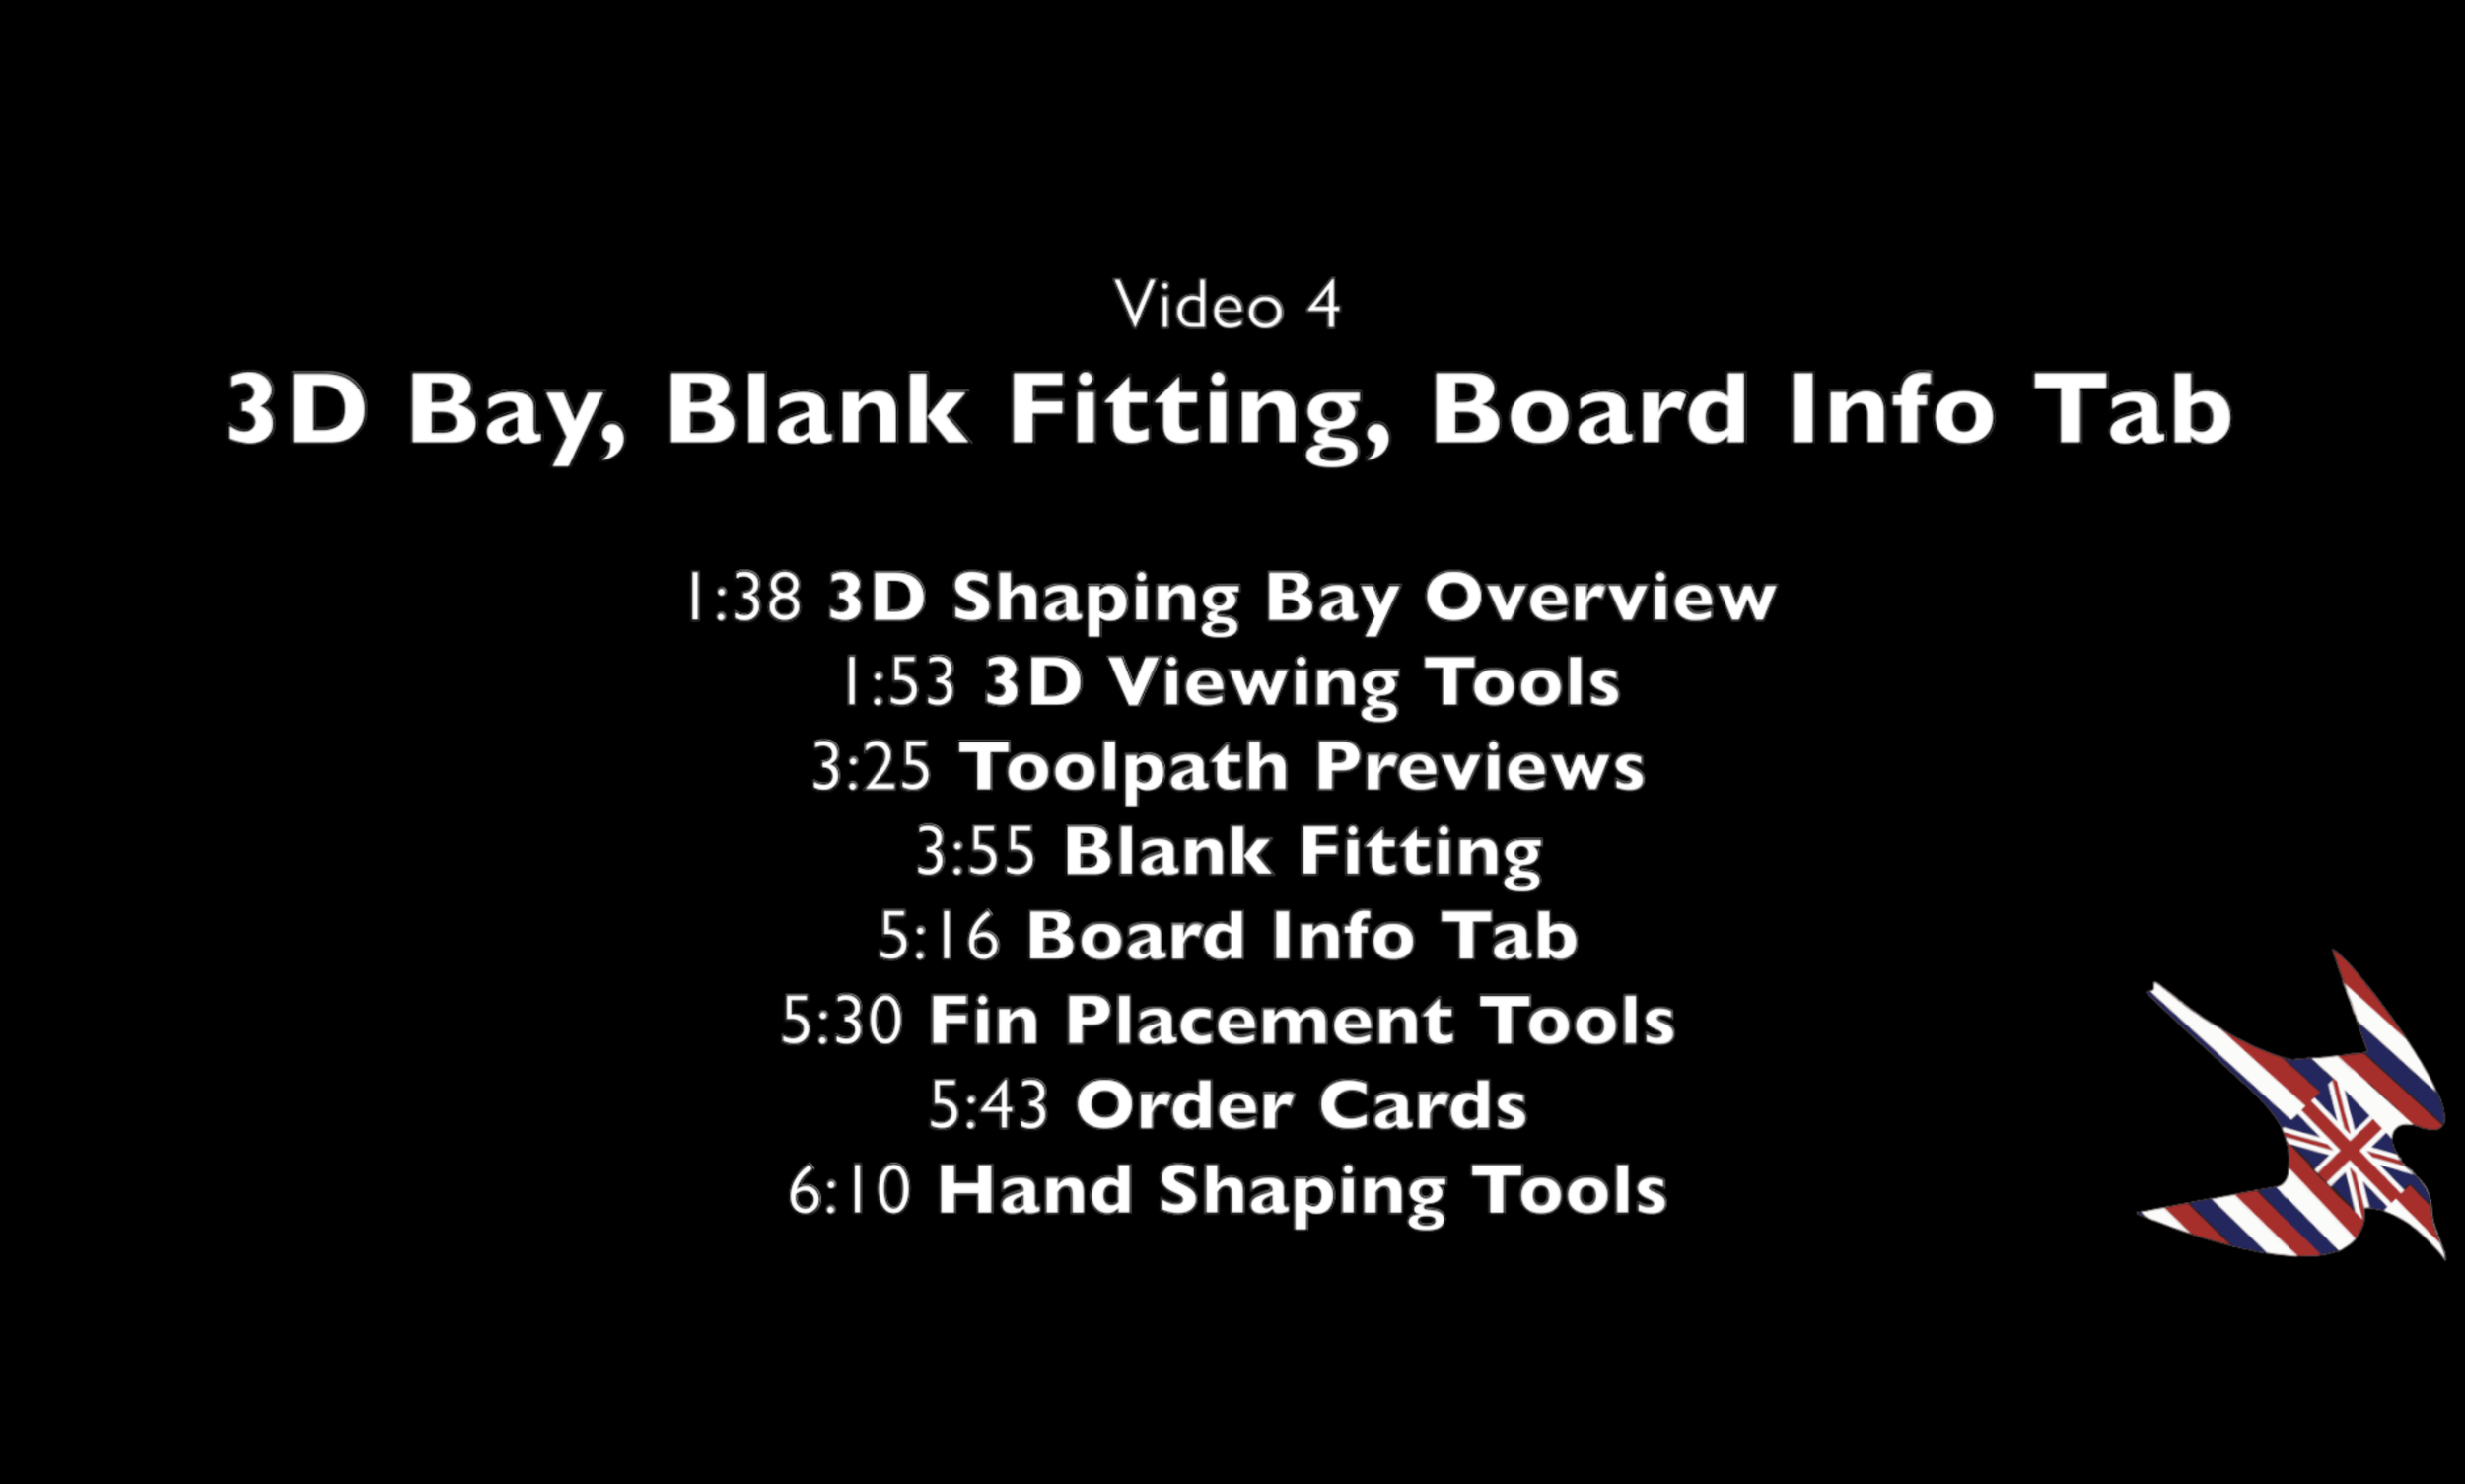
In the 4th and final video of our AkuShaper Introductory Tutorial Series, we cover the basic functions used in the 3D Shaping Bay, how to select a blank for your design, and how to use the Board Info Tab. These tools are used to examine the finished design of your surfboard and are useful to manage your designs after they have been finished and are ready to be shaped.
Click this link to download the finished example model from the videos: Zero to Hero.brd
Timecodes
0:00 - Intro
1:38 - 3D Shaping Bay overview
1:53 - 3D Viewing Tools
3:25 - Toolpath Previews
3:55 - Blank Fitting
5:16 - Board Info Tab
5:30 - Fin Placement Tools
5:43 - Order Cards
6:10 - Hand Shaping Tools

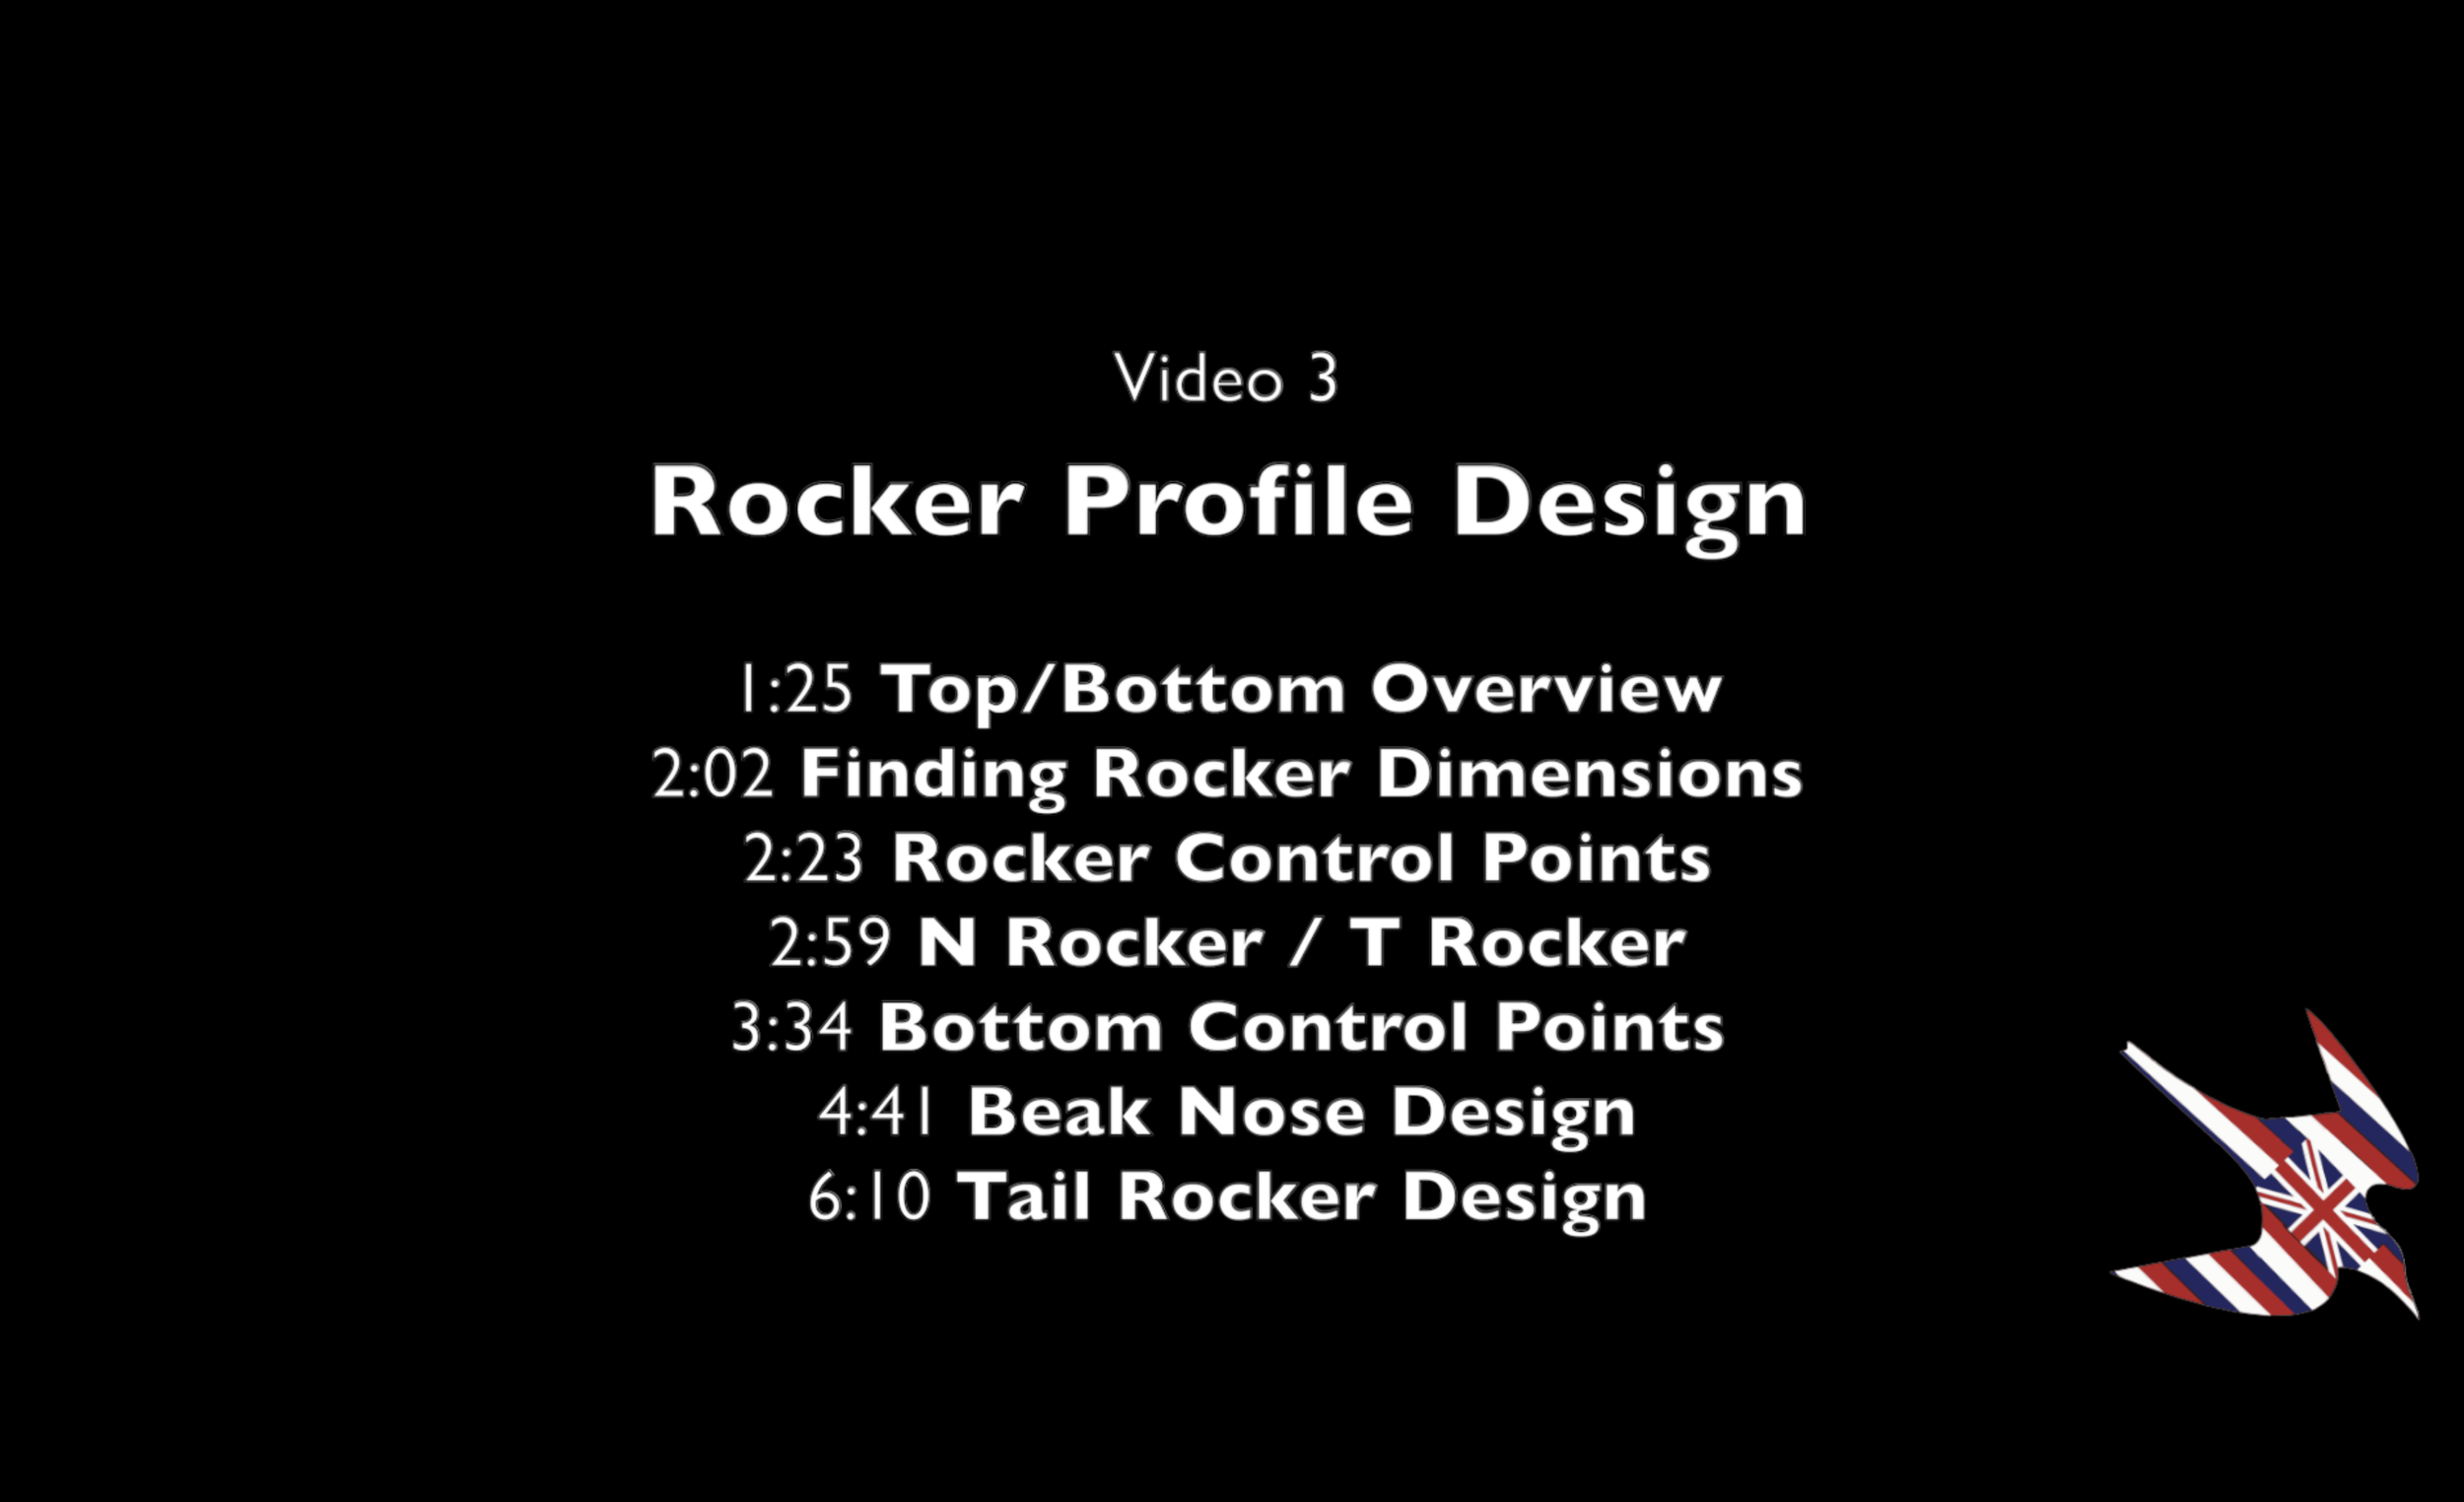
In the third video of our 4 part AkuShaper Introductory Tutorial Series, we cover the basic functions in the Top & Bottom Tabs for designing rocker profiles. This video covers the tools used for increasing and decreasing rocker, and we also explore how to design some additional surfboard features such as a beak nose and a rolled tail on the deck of a surfboard.
Download the example model from the video here: Zero to Hero.brd
Timecodes
0:00 - Intro
1:25 - Top/Bottom Overview
2:02 - Finding Rocker Dimensions
2:23 - Rocker Control Points
2:59 - N Rocker / T Rocker
3:34 - Bottom Control Points
4:41 - Beak Nose Design
6:10 - Tail Rocker design

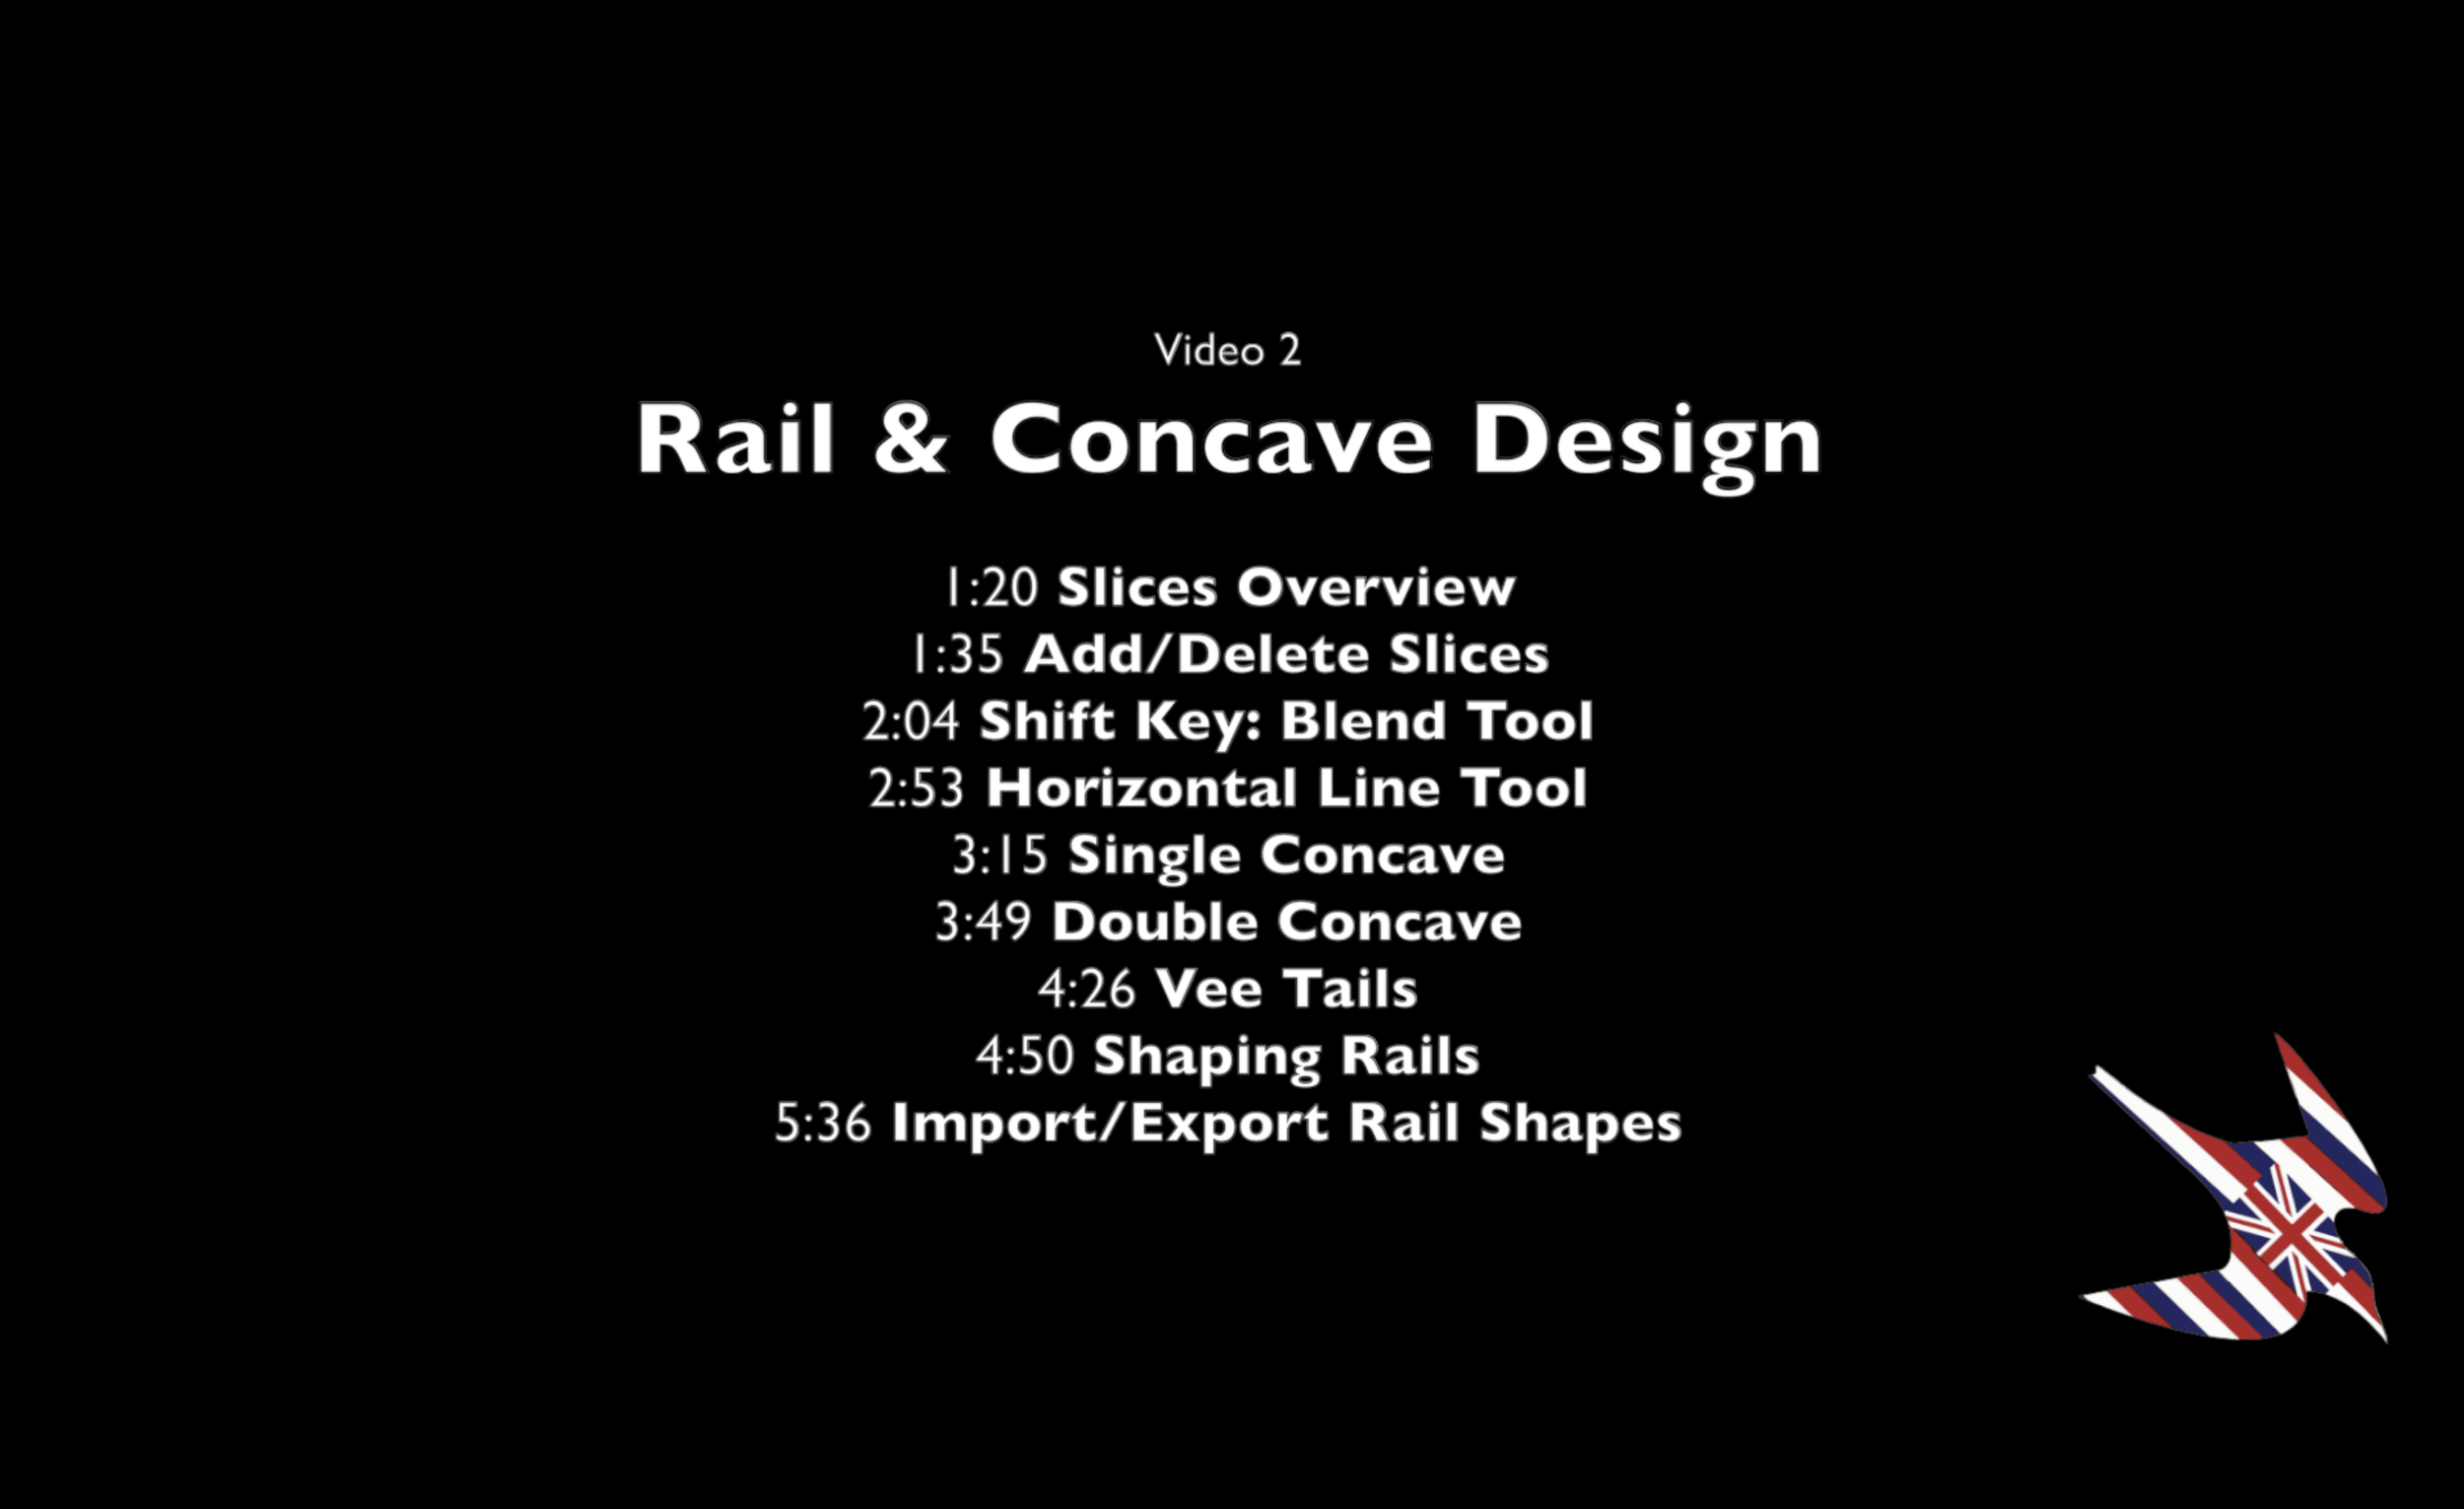
The second tutorial video, in our 4 part AkuShaper Introductory Tutorial Series, walks through the basic functions found in the Slices tab for designing rails and concaves. This video covers the how to design the characteristics of our 6'4 example model, which include a double to single concave bottom, 50/50 rails, and a vee tail. This video also covers some of the other tools used to successfully build full rails and concaves in the AkuShaper software.
Download the 6'4 example model used in the video, here: Zero to Hero.brd
Timecodes
0:00 - Intro
1:20 - Slices Overview
1:35 - Add/Delete Slices
2:04 - Shift Key: Blend Tool
2:53 - Horizontal Line Tool
3:15 - Single Concaves
3:49 - Double Concaves
4:26 - Vee Tails
4:50 - Shaping Rails
5:36 - Import/Export Rail Shapes

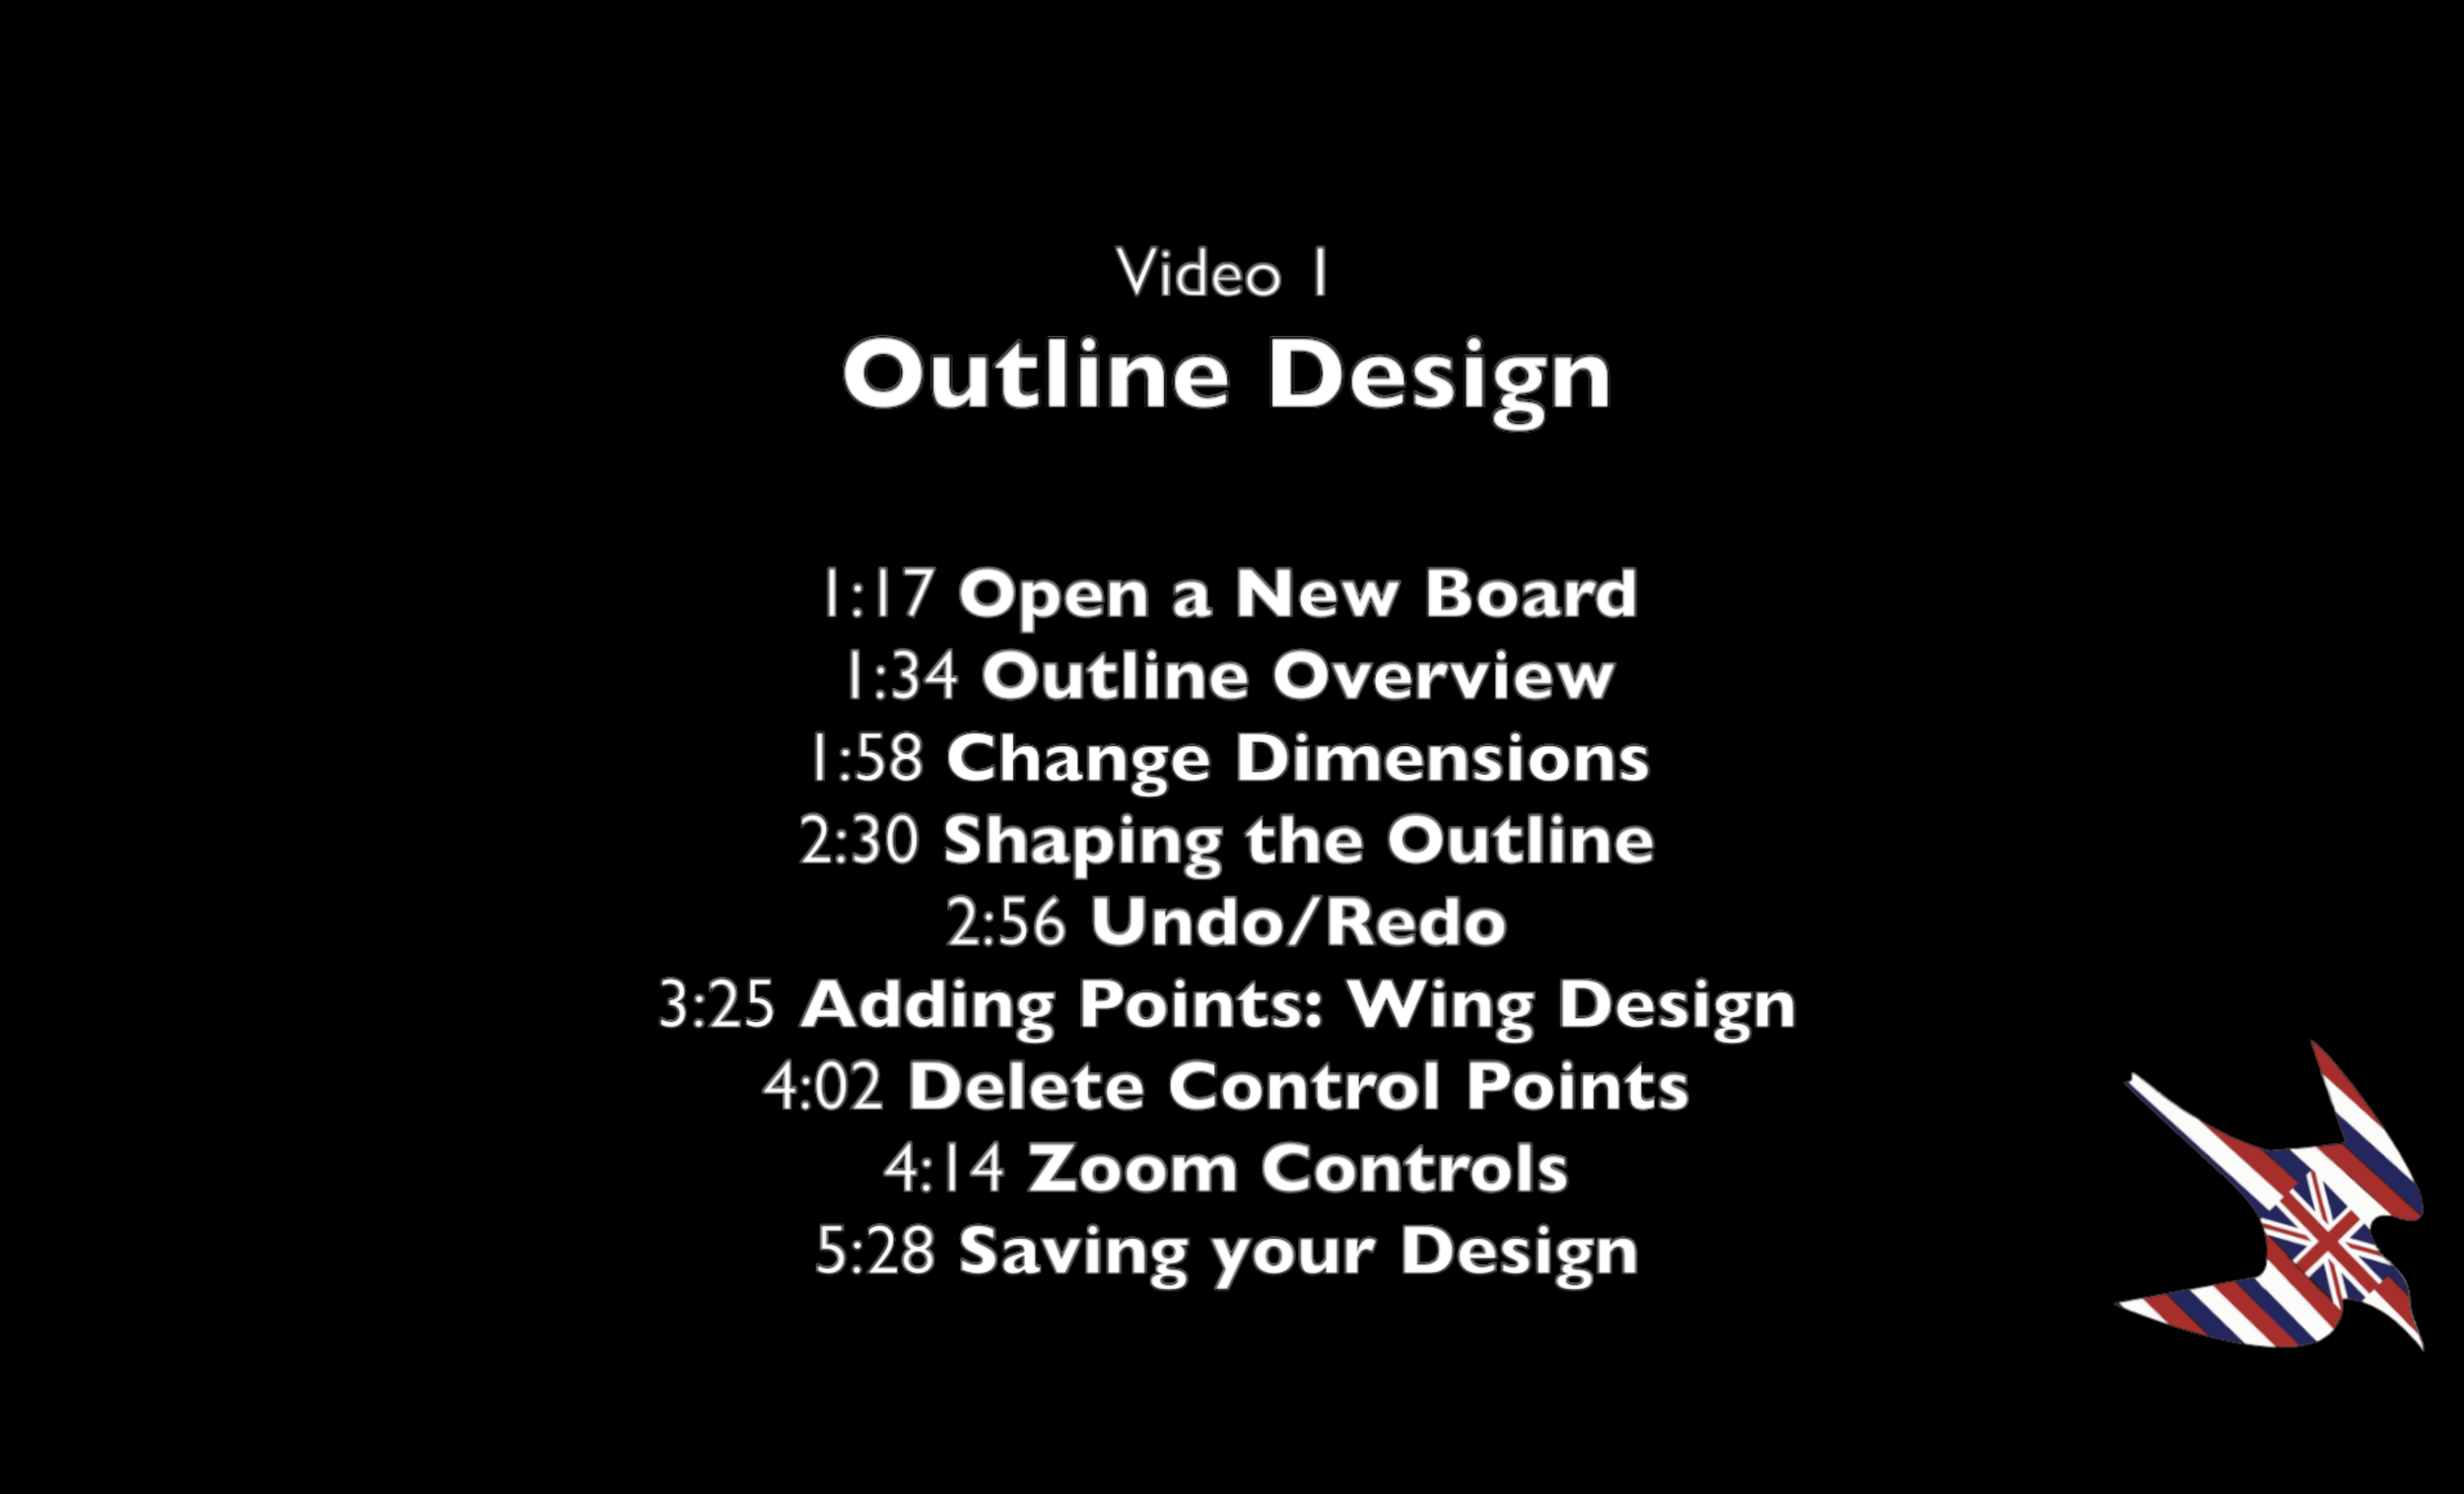
This is the first of four videos in the AkuShaper Introductory Tutorial Series. This first tutorial covers the basic design functions found within the Outline Tab. Watch as we work through designing a wing in the outline, change the shape and the size of our surfboard, and use some other additional functions to design a surfboard outline in the AkuShaper software.
You can download the example model used in the video here: Zero to Hero.brd
Timecodes
0:00 - Intro
1:17 - Opening a New Board
1:34 - Outline Overview
1:58 - Change Dimensions
2:30 - Shaping the Outline
2:56 - Undo/Redo
3:25 - Adding Points: Wing Design
4:02 - Delete Control Points
4:14 - Zoom Controls
5:28 - Saving your Design